|
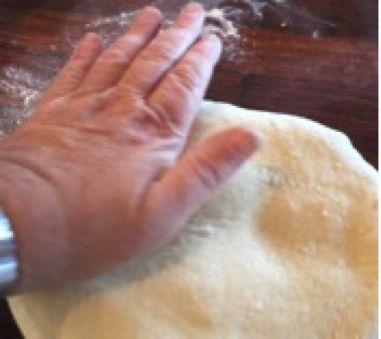
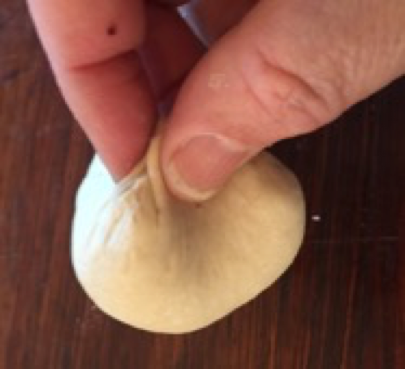
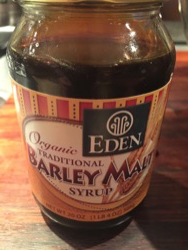
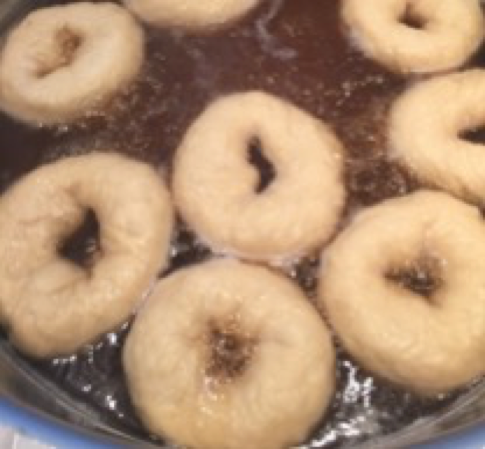
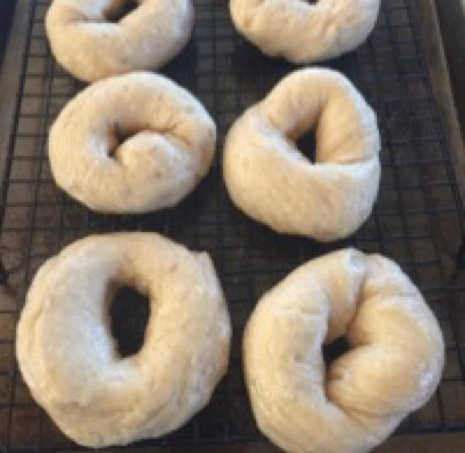
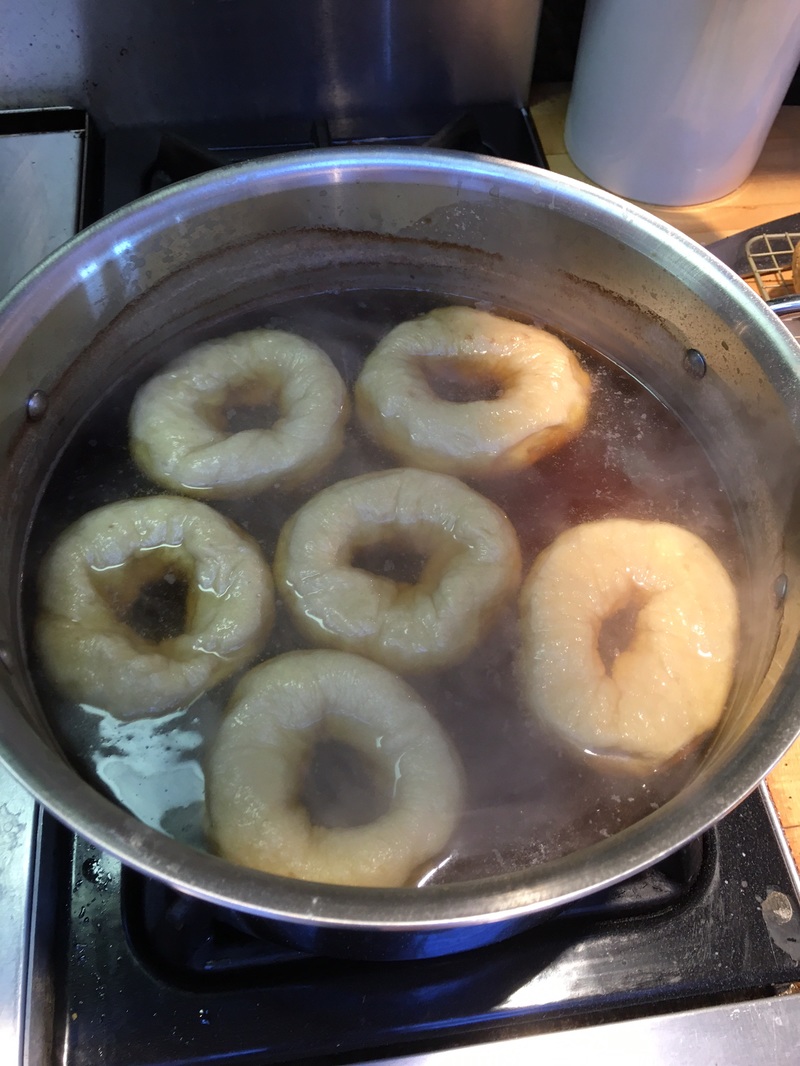
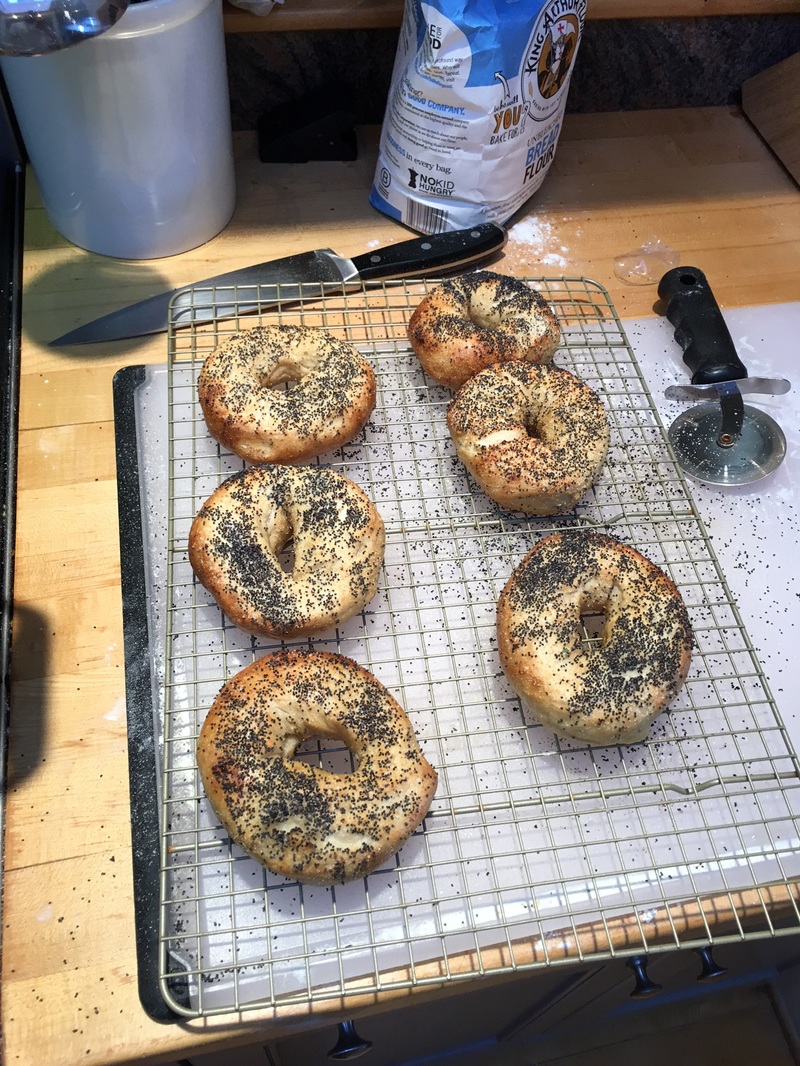
To make real-deal bagels it helps to have a basic knowledge of bread making: how to mix dough, knead, ferment overnight and proof. Added to this is shaping and boiling prior to baking, a process unique to the bagel. But you know what? If you are fearless and can follow a recipe, give it a try. Whatever comes out will absolutely be better then that Lenders frozen shite. I promise. EQUIPMENT For equipment there are two essential items: 1) an oven capable of temperatures of 500ºF or greater and 2) a large pizza stone, preferably one that covers the entire bottom of the oven. Also needed is a kitchen scale, an instant read thermometer, two racks for cooling, four sheet pans lightly oiled and one dusted with cornmeal. INGREDIENTS You will need good quality bread flour such as King Arthur, fast rise yeast, salt, clean water and barley malt syrup (readily available at Whole Foods or Amazon) Also you will need toppings of your choice (as long as they are sesame, poppy, dried onion, dried garlic, caraway and coarse sea salt). Absolutely no sun-dried tomatoes or chocolate chips or habañero encrusted figs. These are an abomination. Cinnamon raisin, pumpernickel and egg bagels are kosher but these will not be covered at this time. TECHNIQUE Making bagels requires a stiff dough which you will mix by hand. Your KitchenAid or food processor will break if you try to make this dough (trust me, three have died at my hand) and besides, kneading dough is an exercise that warms the soul. In most bread making the objective is to have a very moist dough with just enough flour to make it easy to handle. With bagels we will do the opposite we will incorporate as much flour as possible to create the chewy dense interior that makes a bagel a bagel. For fresh warm bagels in the morning you will start in the afternoon or evening the day before. "There are two holes of major importance OverviewThis will familiarize you with the process of making bagels so you know the roadmap. Then we will go into the intimate detail that will insure success. Step One: Mix and knead the dough Step Two: Allow to ferment overnight refrigerated Step Three: Proof the dough (let it rise) - note this takes 3-4 hours Step Four: Shape Bagels and allow to rise Step Five: Boil in malted water Step Six: add toppings Step Six: Bake Step Seven: Cool on racks Step Eight: Revel in praise and Joy INGREDIENTS: (for sixteen bagels) For the dough: 40oz. Bread flour 24oz. Clean water ¼ teaspoon rapid rise yeast 2 Tbs kosher salt 1 Tbs Malt syrup For toppings: (your choice) Dehydrated Onion flakes, dehydrated garlic flakes, poppy seed, sesame seed, caraway seed, extra-coarse sea salt. Note: for onion and garlic soak them in water and or microwave in water for 30-60 seconds to reconstitute. For boiling: Large pot of water 1Tbs Malt syrup 1Tbs kosher salt 1 Tbs baking soda For baking: cornmeal for dusting pans MAKING THE DOUGHDon’t be intimidated by this page! I have included a lot of detail but this is very easy to do and takes about 15 minutes. I really recommend that people who are learning to bake bread mix by hand always so you can get a feel for the level of hydration (how sticky) of the dough and how the gluten develops (how elastic it feels). If you are an experienced bread baker you can skip most of this although if you have been making your dough in a machine and haven’t done it by hand it’s a good refresher. As mentioned earlier this will be a stiff dryer dough, there is no “window test” as is common with French Bread etc. The good news is if you can master this dough you can make any bread your heart desires. LET’S BEGIN Weigh 40oz of bread flour and place in bowl. Add a heaping ¼ teaspoon of rapid rise yeast and two tablespoons of salt. Mix well and make a large well in the center (fig 1). Measure 24 ounces of clean water (if your tap water comes from a city source it likely smells of chlorine and fluorine; you know that faint swimming pool smell. Use bottled water instead) into a Pyrex pitcher add one tablespoon of malt syrup and place into the microwave and heat to 115ºF (it can be as high as 120º but no lower than 110º. (fig 2) Mix well until the syrup dissolves and pour into the well in the flour. Using a large fork begin by placing the fork at the outside edge of the liquid and start stirring around at the edge. (fig 3) Continue stirring with the fork until you have a sticky mass in the middle and then switch to a spatula. (fig 4) Use the spatula to continue to fold the flour at the outside of the mass into the dough. Once about ¾ of the flour is incorporated it’s time for your hands. (fig 5) Aggressively use both hands to continue mixing the flour into the dough (still inside of the bowl). When most of the flour (95%) is incorporated you will have a shaggy mass. Lift it out of the bowl and place it on a board that has ½ cup of flour spread. Discard any dry bits of dough remaining in the in the bowl (fig 6). Now begin kneading the dough until all of the flour is incorporated (fig 7). Cover with a damp towel and let it rest for 5 minutes. Now add another ½ cup of flour to your board and knead it in until it is all incorporated. This may take a little time and patience but all of the flour will be absorbed. It is essential to continue to work flour into the dough until it is stiff and there is no tackiness. Use your back when kneading. At this point your dough should be firm and there should be no stickiness. If it is sticky knead in more flour ¼ cup at a time until it is the right consistency. You now should have a nice elastic ball of dough (fig 9). Spray or oil a vessel that is at least twice the volume of the dough ball, place it inside then lightly spray or oil the top of the dough. (fig 10) Loosely cover with plastic wrap then place a damp towel on top and immediately refrigerate (fig 10, 11, 12) overnight or longer. You could freeze the dough at this point for a week or two but I suggest get your first batch or two under your belt before getting all fancy. Now sip some bourbon or take your Ambien and go to sleep (I don't recommend mixing the two though - check with your doctor. ...NEXT DAY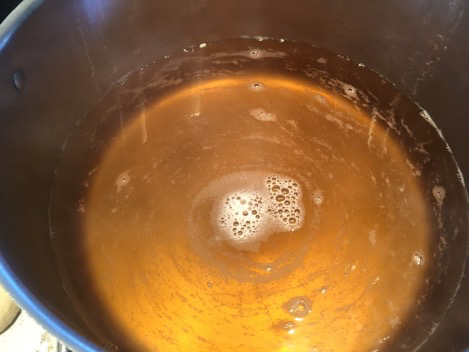 fig 13 When you arise do two things before brewing your coffee: take all of the racks out of your oven place your stone on the bottom and preheat at the highest temperature, preferably north of 500ºF. It is best if it preheats for at least two hours, three is even better. Then remove the dough from the refrigerator and place in a warm place. If you have a second oven heat it to 100ºF. Turn it off then place in your container of dough. Otherwise any warm corner will work. It's important to note this takes 3-4 hours for the chill to come off and the dough to rise. So if you want bagels for brunch, do this at 6:00 am and if you are sleepy just go back to bed. Get the water for boiling ready Get a large wide pot and fill it ¾ with water. Add 1 Tbs. each of salt, malt syrup, and baking soda. Mix well. (fig 13) Later when you begin forming the bagels you will turn it on and bring to a simmer. Dividing the dough Allow the dough to proof until grows another 50% in volume. (fig 14) Once completed flour your board and turn the dough out onto it. (fig 15) Now it’s time to form the dough. The technique described here borrows from classic french bread-making. There will be a process of shaping which will end up with small dough balls. You will then poke a hole in the middle and give it a little twist. If you follow these directions you will develop a nice gluten cloak on the ball that will help create a perfectly shaped bagel through boiling and baking. NOTE: If the following section seems too complicated feel free to just divide the large dough ball in to eight pieces and roll them into balls however you like then proceed to the hole-making section. (I can’t vouch for how they will turnout however). This recipe is meant to produce 16 bagels approximately 4 oz each (pre-baked). Hmmm. Sixteen? Why not one dozen or two? To make the process as easy as possible it is designed to be finished as two batches of 8. Eight bagels will fit in most pots easily for the boiling and will fit on a standard pizza stone. Sprinkle the top of your dough with a bit of flour and make a fist. Now visualize the bonehead who cut you off on the highway or that rude dolt in front of you in the 10 item express line with a basket containing 16 items and pound the heck out of the dough (Fig 16). This will release the gases and redistribute and energize the yeast. When you are done it will look like figure 17. Now cut the circle in half (fig 18) and fold each one like a postal letter (remember letters? Fig 19). Now fold like a letter again from left to right. (fig 20). Next pick up one and hold it in one hand then gather up the edges with the other hand and grab hard. Let gravity help by allowing the dough to hang (fig 21). Then seal the bottom by pinching and flip it over. You will have two large boules now. Cover and let them rest for five minutes. The shaping process The following video gives an overview of how to shape the individual dough balls and form them into bagels. detailed instructions follow. Now follow along the instructions to replicate what you saw in the video. Before continuing take a moment and turn up the heat on your pot of water. Cover it and maintain at a low simmer. You now have two large relaxed balls ready to go (fig 22). Each will make eight bagels. Wrap one loosely in plastic wrap and cover with a damp towel. Now flatten the remaining ball with the heel of your hand (fig 23). Next cut the disc into eight pieces as shown in fig 23. A pizza cutter works well if available. At this point you will form eight dough balls, soon to be born as real-deal bagels. It is best to work quickly, but your first time through take your time just keep the reserved dough covered with a damp towel. Now grab a piece and fold it into three like a letter (fig 24). Flip it so it is seam side up and press your thumb into it (fig 25). Now grasp the edges and pull it up tight, forming a nice ball (fig 26). Now press your thumb again into the seam and repeat pulling up the edges. Finally pinch the seam tightly and place seam-side down and place on a clean board. Note there should be no flour on the board, we want some friction for this part. See the video below for the pinching process. With you hand stretched as shown press your palm into the ball and roll around on the board to smooth. Press hard. Next cup your hand as shown and roll the dough around pressing firmly until it makes a nice smooth ball.. Repeat for all eight. And now for the holeAnd now onto the famous hole. Take a moment to feel your chi for you have arrived at a place few others have. There are two holes of major importance in the world of cuisine: the donut hole and the bagel hole. However, even the donut does not elevate to the level of the bagel since there are many donuts that do not feature a hole. The bagel simply is not a bagel without a hole. And now I bequeath you the power to make bagel holes. Grab a ball and press two thumbs into the center and puncture through to the other side as shown in fig 27. Then insert your four middle fingers from the other side and stretch while rotating on your fingers (fig 28). Repeat until you have a well formed hole. Now push three fingers into the hole (keep these instructions in the kitchen folks) fig 29. and press the dough onto the board and roll forward and back (fig 30). Work your way around the entire bagel. Finally (this is an optional move) put your finger in the middle and give the dough a twist with your other hand (fig 31)– this will replicate the old world style of rolling bagels. Place on a lightly oiled sheet (fig 32). Repeat for all eight, keeping the completed ones covered with a damp towel. Set aside and allow to rise for about 30 minutes (fig 33). Now repeat the process for the second batch of eight. By time you are done, the first batch should be risen and ready to boil. "Noah's or Einstein's are the Chef Boyardee of bagels" BOILING - WHAT MAKES IT REAL-DEAL |
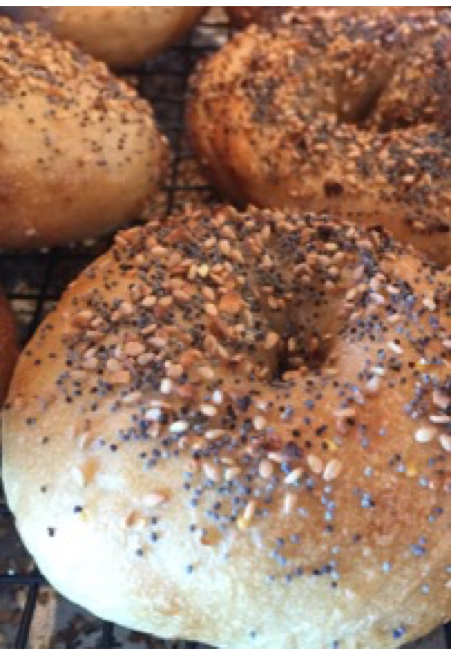


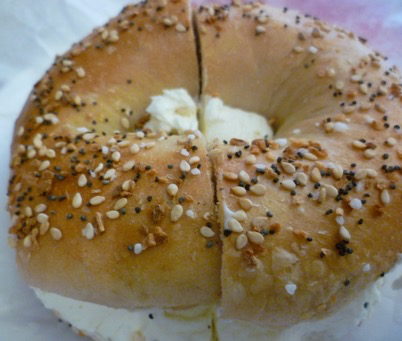
 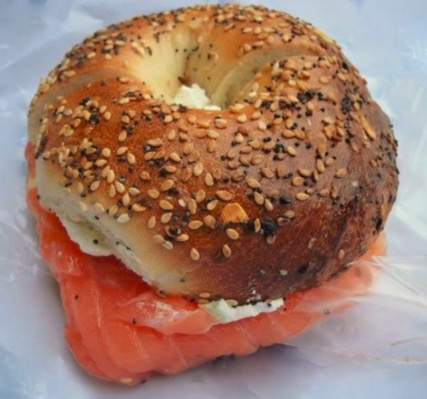 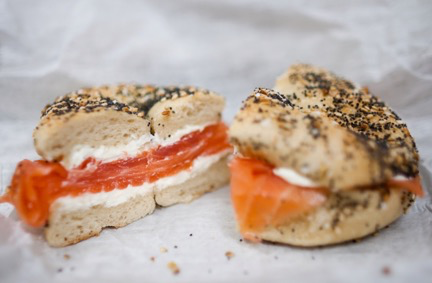 | Congratulations I am sure you have been lavished with praise and adoration as people are amazed at your baking prowess. The good news is a few more batches under your belt and it will become very easy. Mix the dough before you go to bed on a Saturday night and you will have real-deal bagels for your Sunday brunch. With all the love and care you just put into your bagels you now understand why a fresh bagel should never be toasted, and you should be appropriately indignant when some luddite requests the toaster. And while we are on the topic of desecration of your fresh bagel. Do yourself a big favor and get some real cream cheese. Philadelphia brand isn’t even close. The ingredients in commercial cream cheese look like this: Pasteurized Milk, Cream, and Skim Milk, Stabilizers, (Xanthan Gum, and/or Carob Bean Gum, and/or Guar Gum) ascorbic acid, Cheese Culture, Salt. It’s a gummy bland mess. Fresh cream cheese is clean and tangy with live cultures and pure dairy – you can find some at Whole Foods in the cheese section or at any cheese shop. Gina Marie is a good quality brand. One final thing. Feel free to adorn your bagels as you wish, but at least one time make the minimalist smoked salmon and cream cheese sandwich as shown left. Here you will experience the amazing goodness of the bagel you have created. Get the best cream cheese and hand sliced salmon you can find and enjoy. Better yet, I can teach you how to make your own cream cheese and cured salmon and then you can have an unparalleled purity of experience. Yum. ...Coming soon: Real-deal smoked salmon and Real-deal cream cheese. |
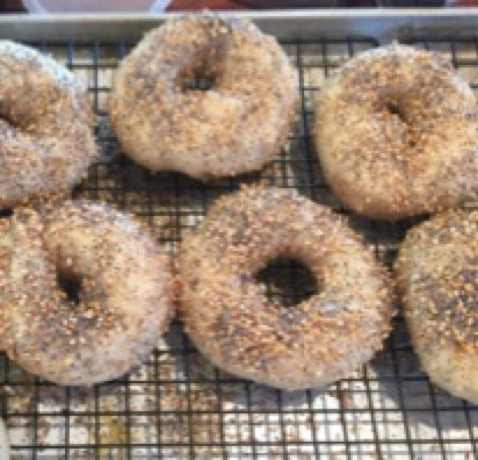
Gallery of bagels from readers
Here are submissions from the brave readers who actually made real deal bagels
From Chris Ruggeri of Intrinsic Yachts in Maryland - Chris put his bread and pizza making skills to work
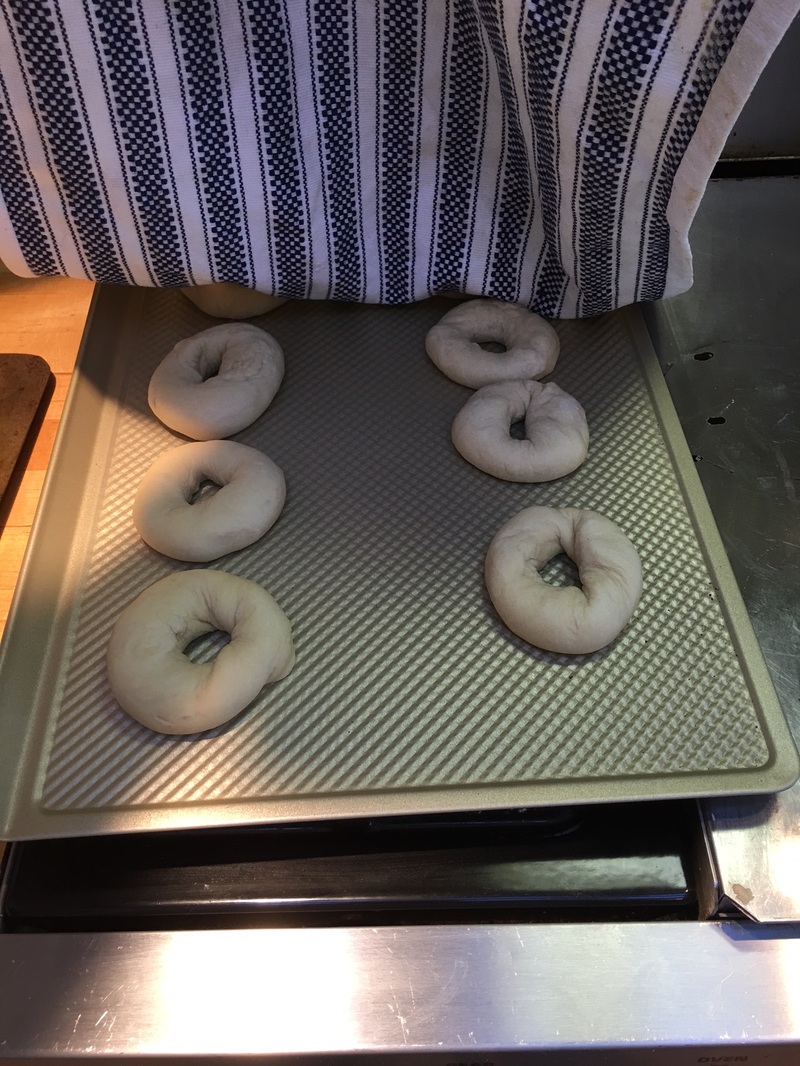
And from colleague at DFJ Jade Tran - a life-long baker taking her first shot at bagels
Sources:
J. Kenji López-Alt Managing Culinary Director Serious Eats - the great bagel manifesto
Julia Child The Way to Cook
Food Farmer Earth Authentic NY Bagels
Peter Rheinhart The Bread Baker's Apprentice
J. Kenji López-Alt Managing Culinary Director Serious Eats - the great bagel manifesto
Julia Child The Way to Cook
Food Farmer Earth Authentic NY Bagels
Peter Rheinhart The Bread Baker's Apprentice
1 Comment
1/17/2016 02:39:47 pm
Chef Barry, this is truly an outstanding article. Prompted me to do some research of my own, which is reported on my website lighthousegourmet.com..